


How to mint a token on the Polygon Network when you can’t code at all.
When you’re not a dev, making a random (possibly useless) fungible ERC20 token can seem impossible. It nearly is impossible. But it can be done. Here are the steps I copied from a dev from the $FWEB3 game-to-learn project (who did an awesome job explaining but left this or that out), plus a few extra steps for people like us who need to be told clearly that you have to install stuff, bridge stuff, type stuff...to make it happen.
The Steps (v0.1)
Prologue | You’ll have to get $ETH. And $MATIC. And then send them over a “bridge.” Sorry. There’s no way around this.
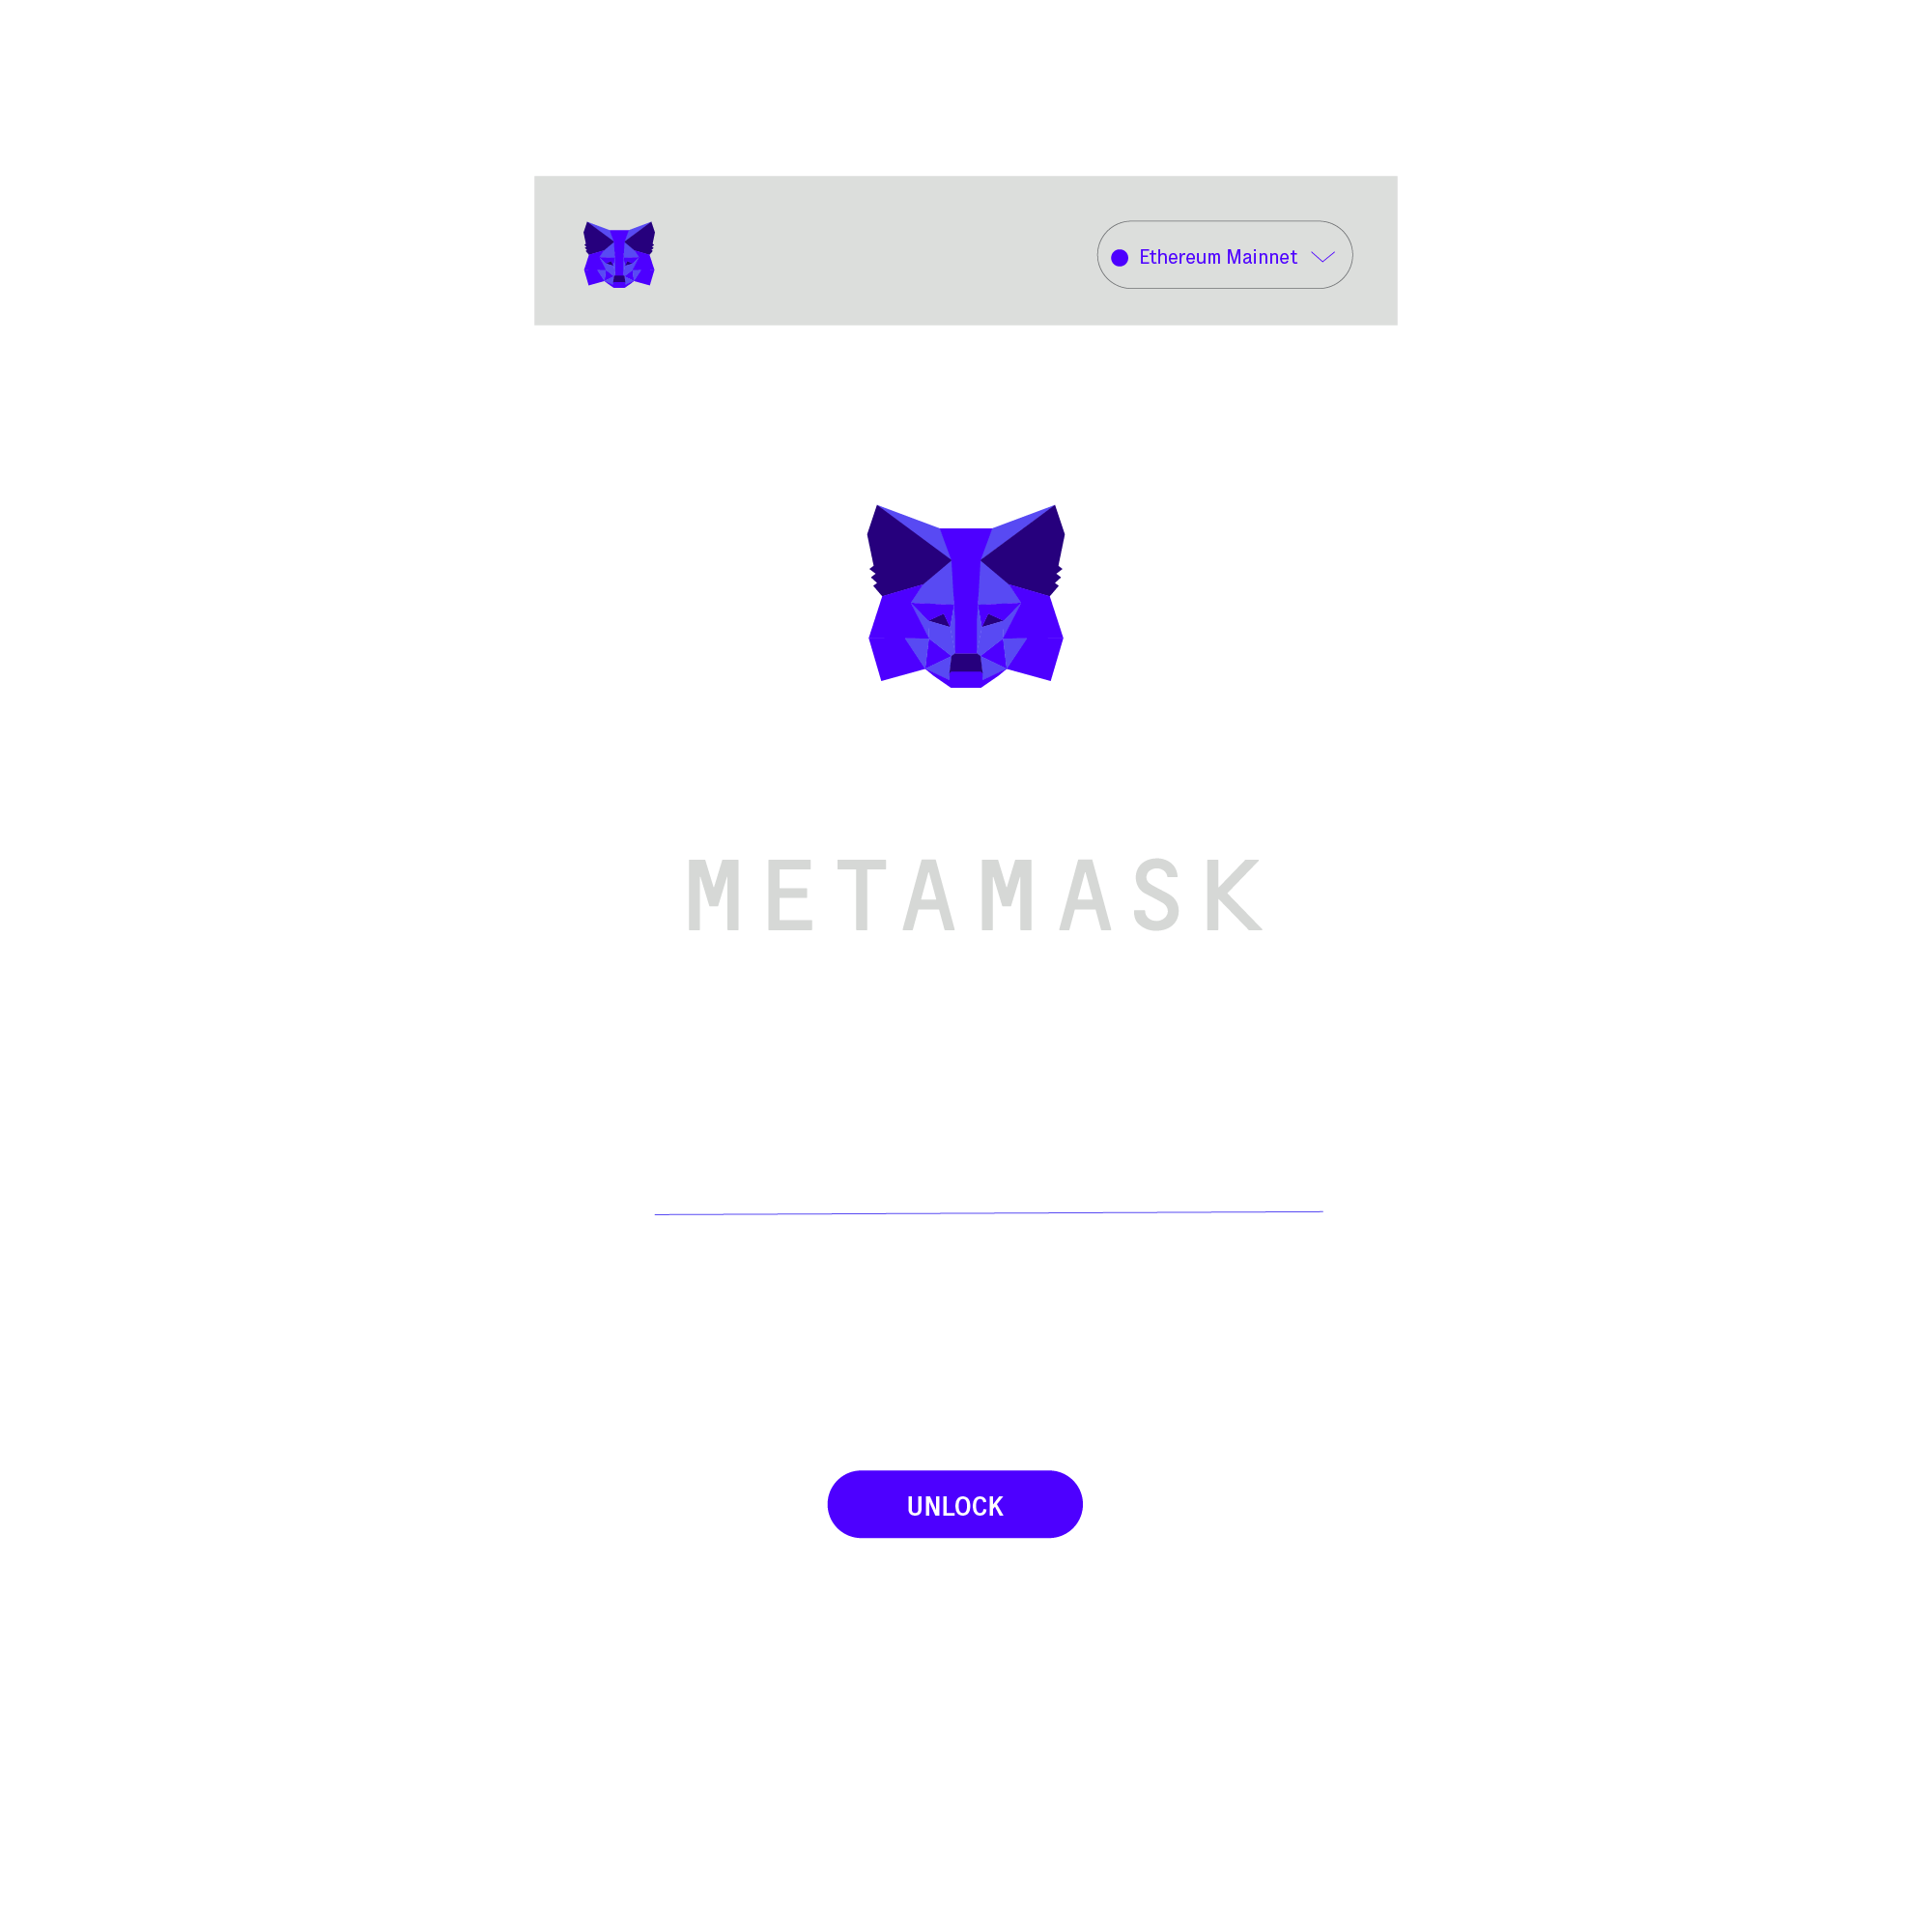
Step 1 | Install MetaMask and add some coins. (Everything in web3 is a transaction. In other words, costs and fees. You will click, click, click “yes” / “confirm” to costs… a lot… in web3.) Option: You can install an extension in Brave Browser (desktop). Don’t skip the part where you are supposed to save (write down) your keys and password.
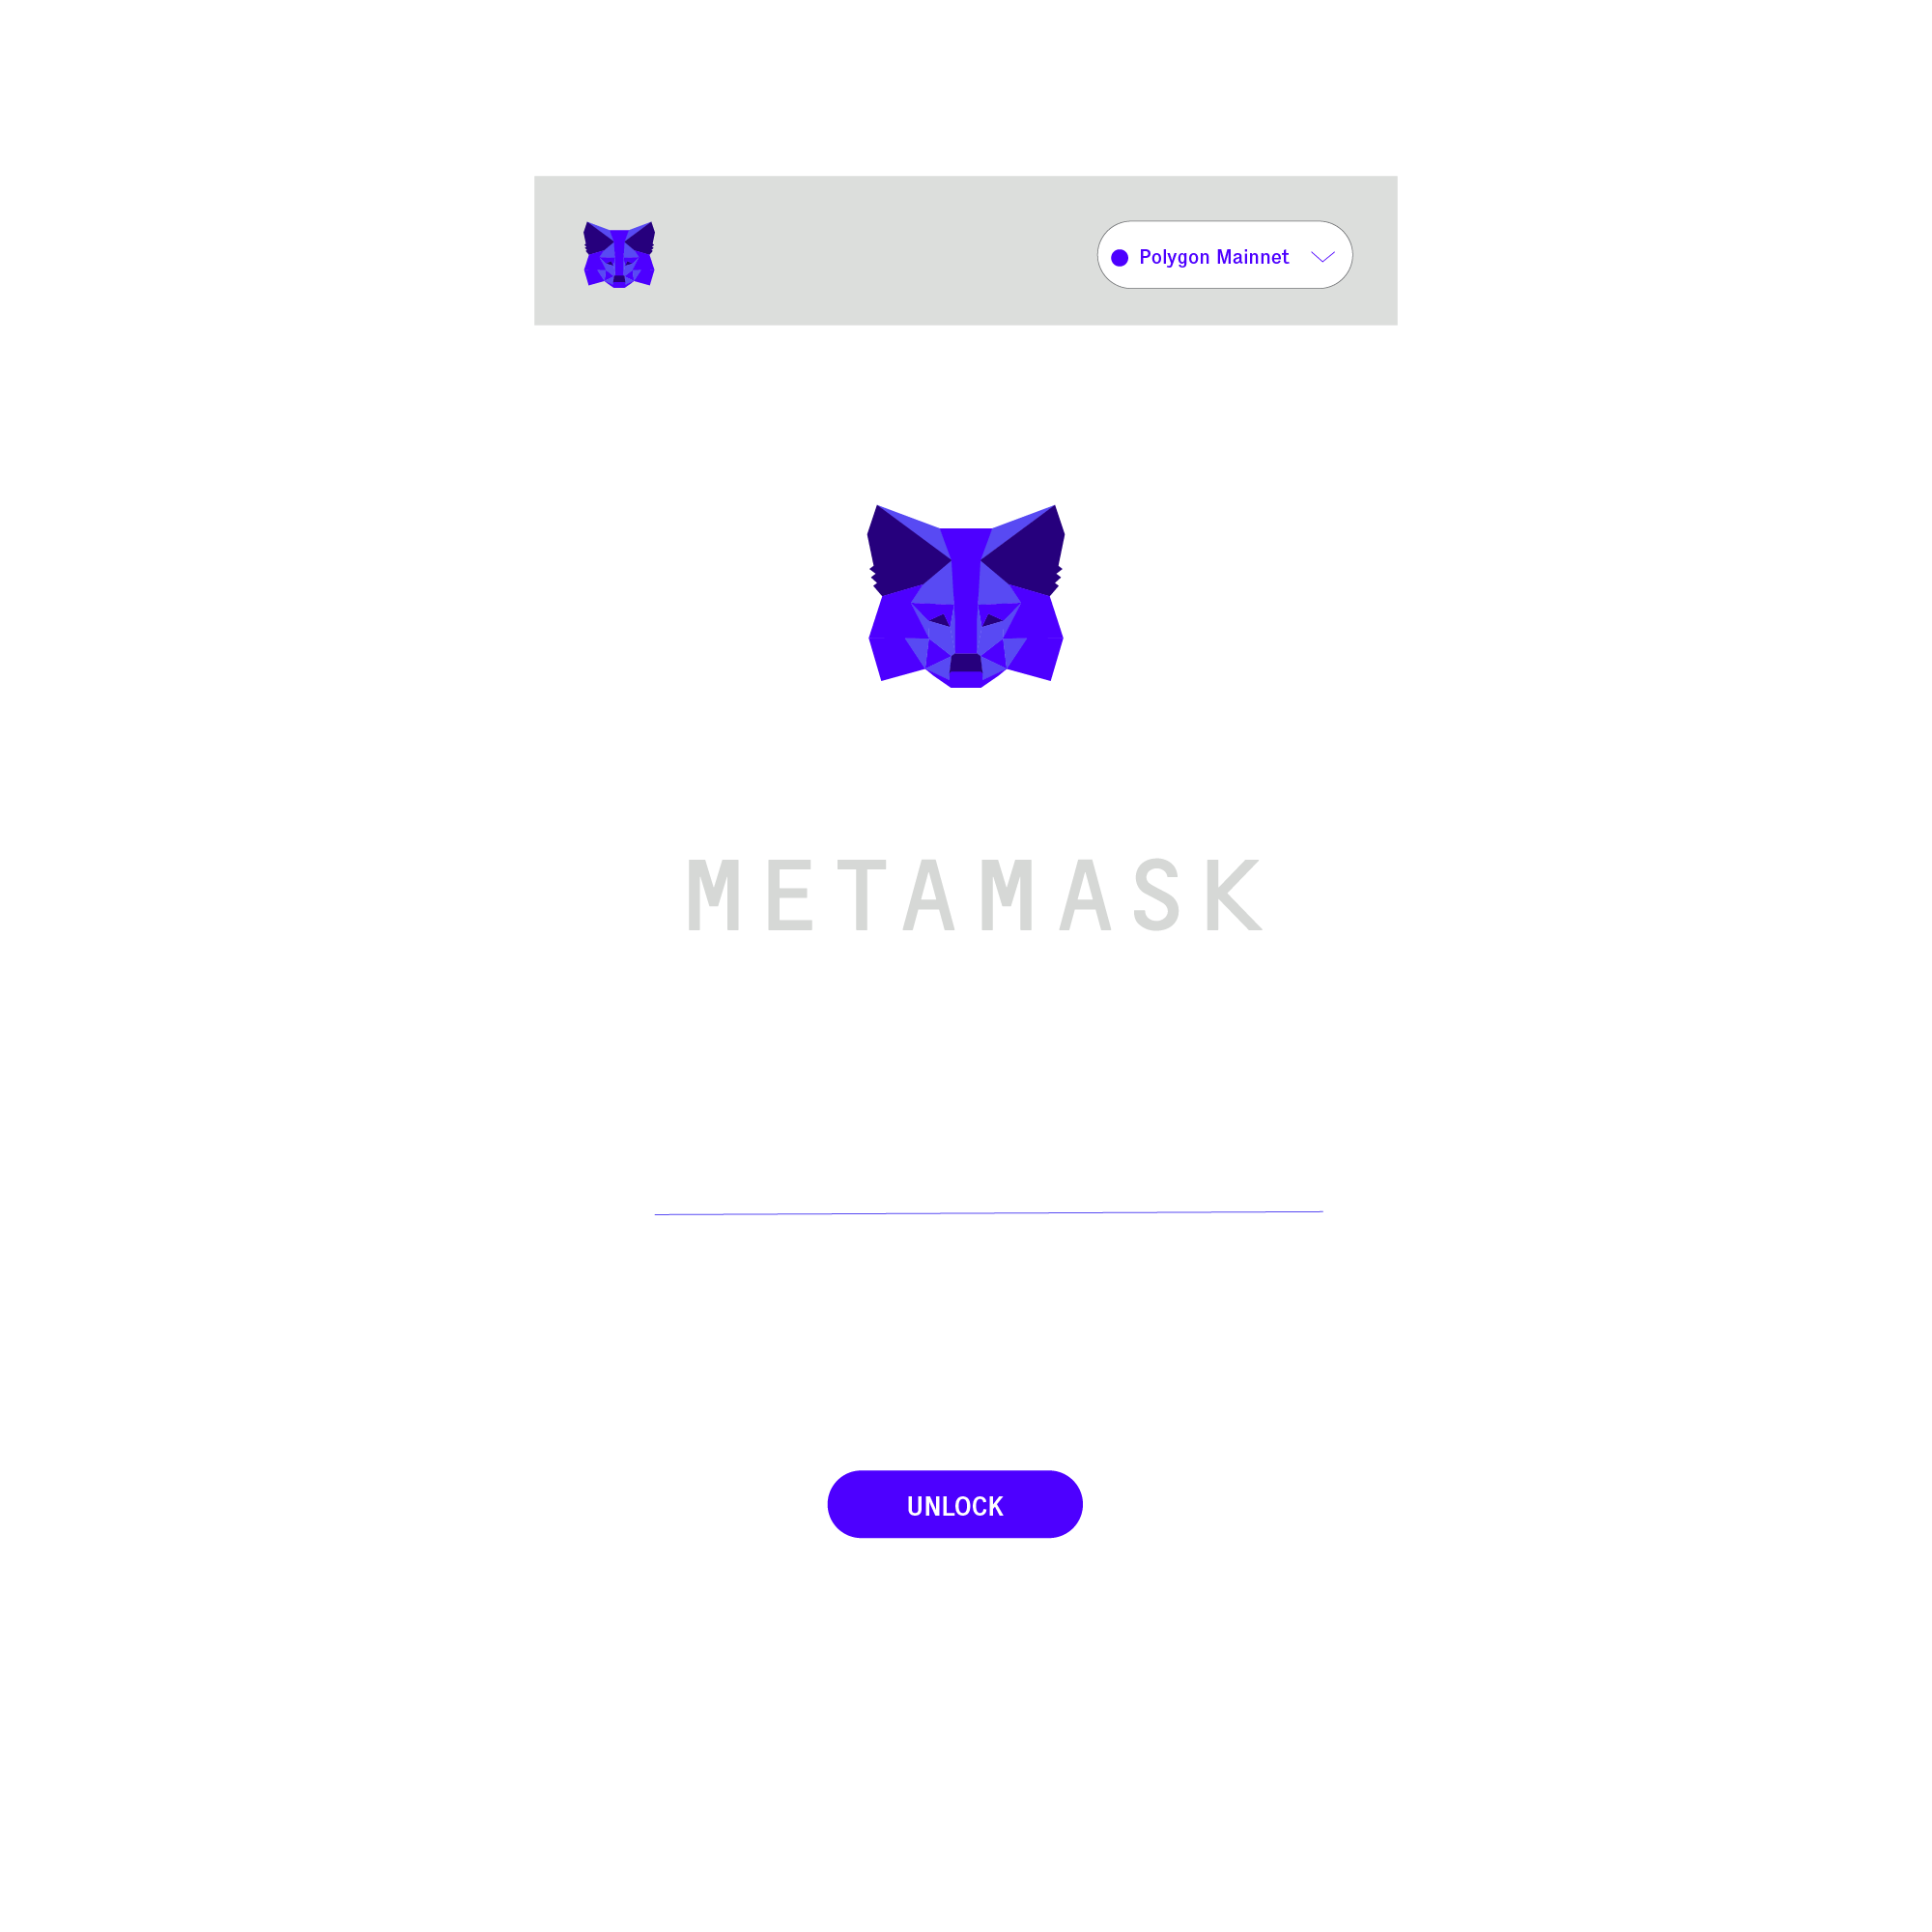
Step 2 | Get $ETH and $MATIC from the Ethereum Mainnet onto the Polygon Mainnet in the MetaMask wallet. (Oh, you’ll have to add that first.) The good news is that you don’t need a lot. Fifty dollars worth is probably too much.
Step 3 | Install some random programs coders use. (…baby versions of them anyway.) And some plugins that provide pre-written stuff about smart contracts. [Visual Studio Code]- [Solidity Plugin]- [Blockchain Development Kit for Ethereum]. (…ok so truthfully I’m not sure I actually “had to” do this part as I only end up copy pasting some code into the Ethereum magical contract maker online…but I couldn’t handle the angry red underlines that you get when VSCode can’t reference something. Maybe this could’ve been a text file. So there.)
Step 4 | Make the contract. “Make” the contract by copy/pasting some code, with your brilliant idea for a coin name.
// SPDX-License-Identifier: Unlicensed
pragma solidity ^0.8.0 <=0.9.0;

import "@OpenZeppelin/contracts/token/ERC20/ERC20.sol";

contract GlymmerPolygonToken is ERC20 {
    uint constant _initial_supply = 1000000 * (10**18);

    constructor() ERC20("GlymmerPolygonToken", "GLYMR") {
        // Mint 1000000 tokens to msg.sender
        _mint(msg.sender, _initial_supply);
    }
}
Step 5 | Go to Remix Ethereum and mint the coin. See the transaction recording on PolygonScan.
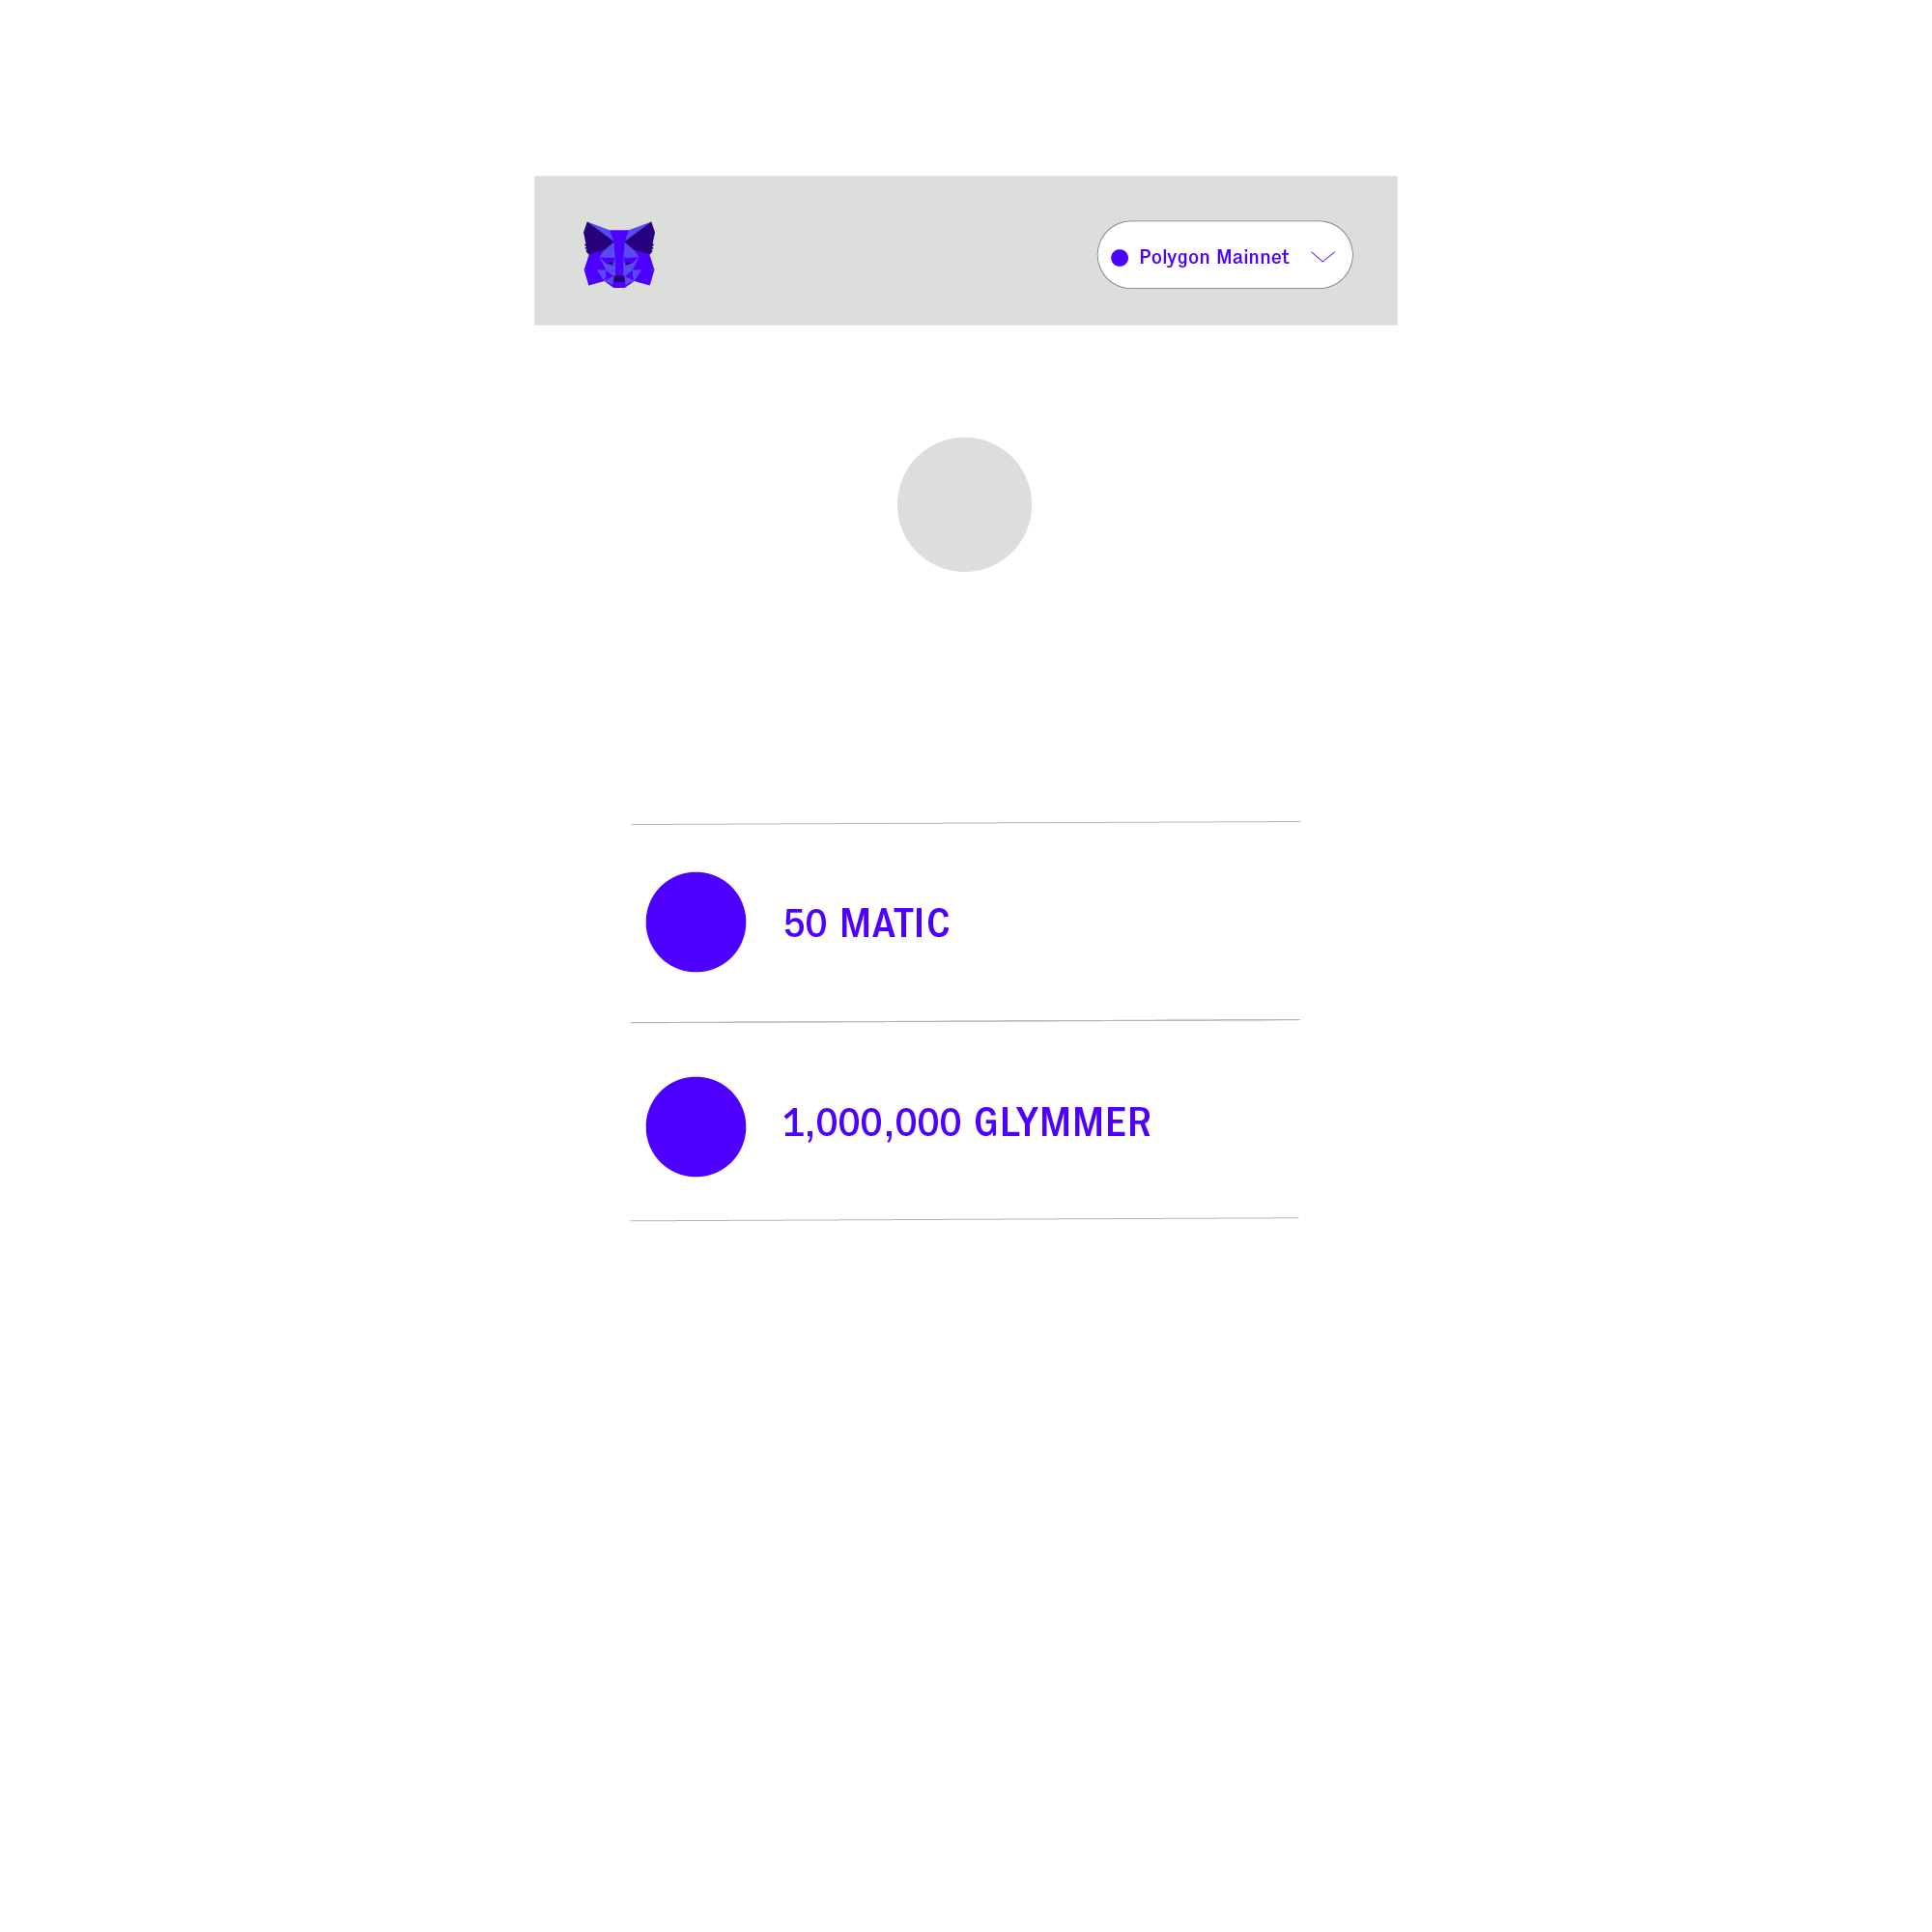
Step 6 | The token is on the blockchain. Make it visible to the MetaMask wallet by using the “Import Token/Custom Token” feature.
Step 7 | (I dunno - share them?) Anyway, it’s complete.
Epilogue | I named my token “Glymmer” / $GLYMR since I constantly use an emoji that looks like one. ✨
I later found out that the word “gly” means a unit of a billion lightyears. Or an abbreviation for a sweet crystalline solid in biochemistry. Both sound random and shimmery. I like.
Anyway, this demo could be one of the world’s most simplistic smart contracts so it probably has issues that come with something not at all robust. But I would love to do something with these tokens, like make a $MATIC / $GLYMR faucet or something. We will see if I bother.
Prologue | Setup + expectations, acquiring coins for web3 transactions
Step 1 | Install a Web3 Wallet
Step 2 | Get to the Polygon Mainnet
Step 3 | Install + Code
Step 4 | Make the Contract
Step 5 | Mint the Coin
Step 6 | Make it Visible in Web3 Wallet
Step 7 | Completion
Epilogue | Token Naming + Next Steps